Your Cart is Empty
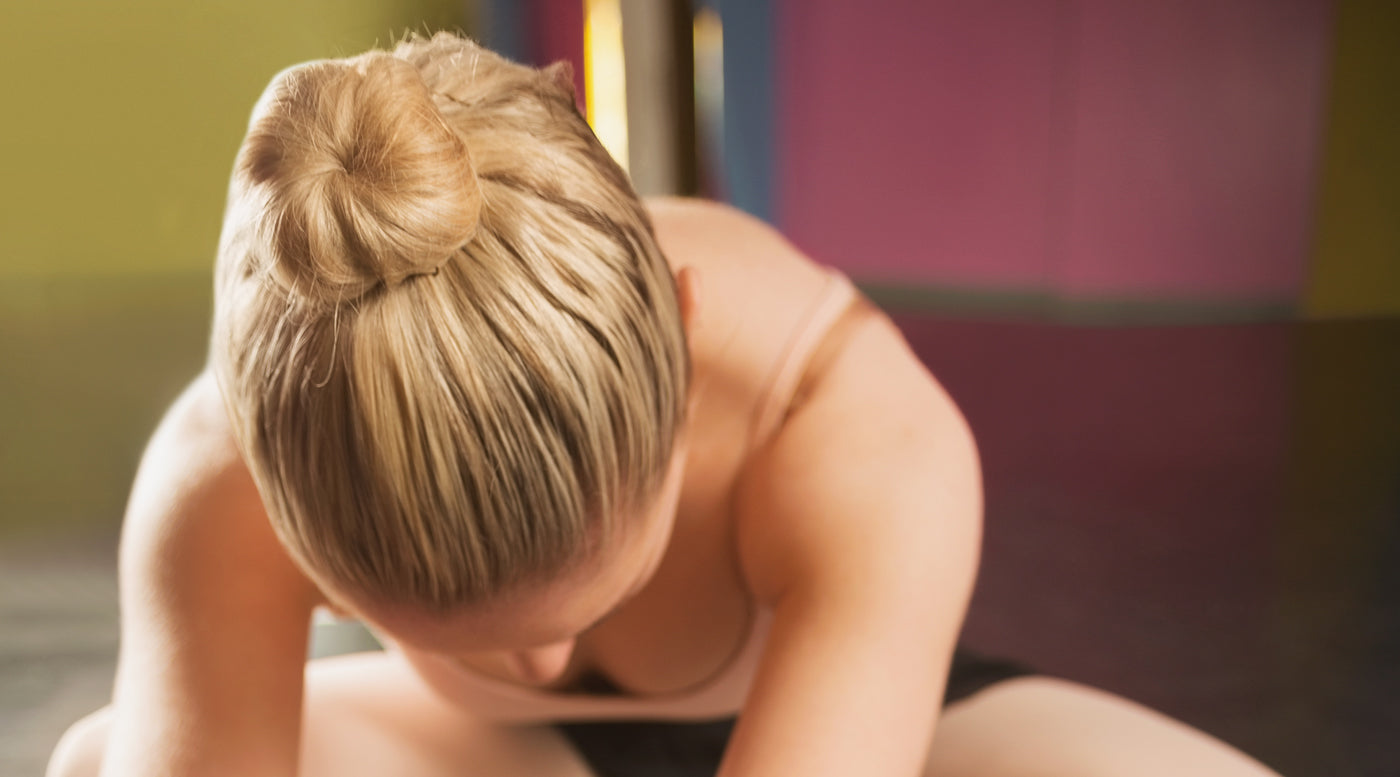
The ballet bun. Something dance moms usually find themselves stressing over, or spending hours on end trying to perfect. Getting your head around how to make a ballet bun is something that once you know the secret to doing it, it becomes much easier. There are many different ways to do the ballet bun and lots of parents have their own tips and tricks so today we want to share different ways that you can do a ballerina bun.
I know full-well that if the internet was around in the presence that it is today, my mum would have rejoiced in googling how to do a ballet bun on a child. Truth be told, I hated sitting there waiting for my hair to be put in a ballet bun. I hated the way my hair was scraped back. I hated the agonising pain. Looking back, perhaps it wouldn’t have been so painful had I have not tugged and yanked back. Hey, you live and you learn.
Chances are, you have your own little darling now who loves nothing more than to resist being put in a ballerina bun. Chances are, she screams the place down as you’re trying your best to not rip out every last strand of hair as she tugs in the opposite direction. We’re betting that sometimes, no matter how hard you try, her hair just will not cooperate.
You might have stumbled across this article being completely unrelated to dance. You might be loving the ballet bun style and want to explore different ballet bun ideas and how to perfect them. You’re in the right place too. After all, although ballerina buns are usually for dance recitals and performances, you can rock the ballerina bun to a wedding, the first day of school or school. It’s a polished yet trendy hairstyle that can be worn to any event, especially formal ones. Add a little accessory to your bun and you are raring to go. Everyone will be green eyed with envy at your ballet bun.
Even though they look chic and neat, they are actually quite simple to execute. As long as your hair is long enough to put into a ponytail, putting it into a ballerina bun should be totally achievable. Now, we’re not saying that following these steps will have you perfecting the bun straight away, because, like everything. It takes time. Time and practice will be all you need to get the ballet bun hair ballet-ready.
Let’s start with the most popular reason you might be here. The ballet bun for a performance. You’ll need to make sure you’re fully equipped with hairpins, hairspray, conditioner, elastics and a brush or comb.
- You will begin by moisturizing the hair with a leave-in conditioner. This will mean that the hair stays moisturized and reduces the damage to the hair while it is in a bun for a long time.
- Next, begin combing out the hair. Make sure you brush out any existing knots or tangles. If you fancy it, you can lightly dampen the hair with a spray water bottle or some de-tangler spray. Smooth the hair with wet hands or a comb.
- Next, brush all of the hair back. Use a hairbrush to smoothen the hair back neatly, checking that there are no stray hairs, a ballet dancers’ hair should look neat and tidy.
- Secure the hair tightly into a high ponytail using an elastic ponytail band of the same colour as the hair. You will need the ponytail to be tight in order to stop it dropping out. Wrap the band a few times around to make sure it is secure. The best place to make the ponytail is at the center of the head. You want the ballet bun to finish at the back-top of the head. Please note, the ponytail should be tight, but not to the point where it is causing pain or headaches.
- Next, smooth the end of the ponytail with the brush to remove any knots or tangles.
- Grasp the ponytail with one hand and brush the hair with the other.
- Now, twist the entire ponytail into a tight rope, you will need to use both hands for this next step. Make sure all the hair is included in the twist.
- Begin by wrapping the hair rope tightly around the base of the ponytail. The goal is to twist tightly against the scalp, continue twisting the hair as you are wrapping it around.
- The hair should now be starting to resemble a ballet bun. You need to tuck the ends into the ponytail base, to make it look as neat as possible.
- Use hairpins to secure the ballet bun. Make sure you are adding hair from the bun as well as hair into each hairpin to make sure it keeps secure and stays put longer while dancing.
- Keep using those hairpins! If the hair is extra long or extra thick you’ll need to use a lot of pins to keep it tight. Try to position them so they are not easily visible. Start at the top and make your way around placing pins all the way around the base of the ballet bun to make sure it keeps put.
- Voila! You have a beautiful ballet bun. Lightly spray the ballet bun and the surrounding hair with hairspray to secure it.
If the neat and sophisticated ballet bun for a performance isn’t up your street, why not try some of these other ballet bun ideas?
The wedding bun is a sophisticated and classic twist, it’s a neat bun with a varied part. Usually, the hair is in a side parting, and brushed into a ponytail then styled into a chunky bun. You then wrap a bit of extra hair around the bun to add volume and dimension to the bun.
Not so sleek as the ballet bun for a performance, this simple ballerina bun is an elegant and feminine take on the bun. Using just the hands to style the bun, it allows for a messier and casual style.
The low ballerina bun is just as it sounds. Positioned lower than the ballerina bun. The hair is pulled into a low ponytail and then styled to form a mini ballerina bun near the bottom of the head. It’s a beautiful style perfect for a formal event or rehearsals. Just like the ballerina bun, add a little hairspray to give the hair a shiny appearance and keep it in place.
Who doesn’t love the messy bun? Lazy sunday? Messy bun. College lecture at 9am? Messy bun. Not washed your hair since Tuesday? Messy bun. The key to a messy bun is making it almost not look messy. Yes, we know, a difficult task.
Ever noticed how some girls wear a messy bun look classy and sophisticated while yours looks like you haven’t showered in weeks? We know the feeling. Well, the reason for that is because a messy bun takes just as much styling as other buns. In order to nail the look, you put your hair into a high bun, and then pull the hair next to your ears out and a few baby hairs to frame your face. The proper messy bun is a great idea for birthdays, dinner, a wedding or date night.
A tousled hairstyle is quite an easy one to create. Pull the hair into a ponytail at the back-middle of the head. Form the ponytail into a messy bun and then pull some strands out. It isn’t a sleek look, but is great for a quick supermarket run or for lounging around the house.
This one is quite complicated, but if you’re a natural with braiding, it’ll be perfect for you. The braided ballerina bun is perfect for a wow moment, section off a two-inch piece of hair from the front of the head and then tie the rest up into a high ponytail. Pull 1/2 inch section of hair from the front side and split it into two. Pull a 1/4 section out of the ponytail and start braiding it with the other two. Keep braiding using the french braid technique gradually adding pieces. Stop braiding when you have pulled all of the hair from the pony. Wrap the hair tightly into a bun and secure with hairpins. Finish by lightly spraying with hairspray.
You’ll never be bored of your hair again with all these ballet bun ideas!
Comments will be approved before showing up.